前言
最近想把我的機器重新弄一次順便紀錄一下我做了些什麼,這篇介紹如何安裝並初始化你的pve,包括刪除訂閱警告視窗、換pve源。
準備工作
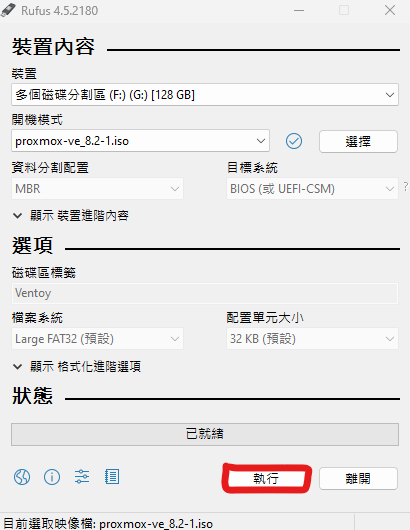
安裝PVE
選擇你的ISO和USB直接按下執行
設定第一啟動項
插入隨身碟到你的機器,打开 BIOS 界面,根據主機板的類型,設定第一啟動為隨身碟
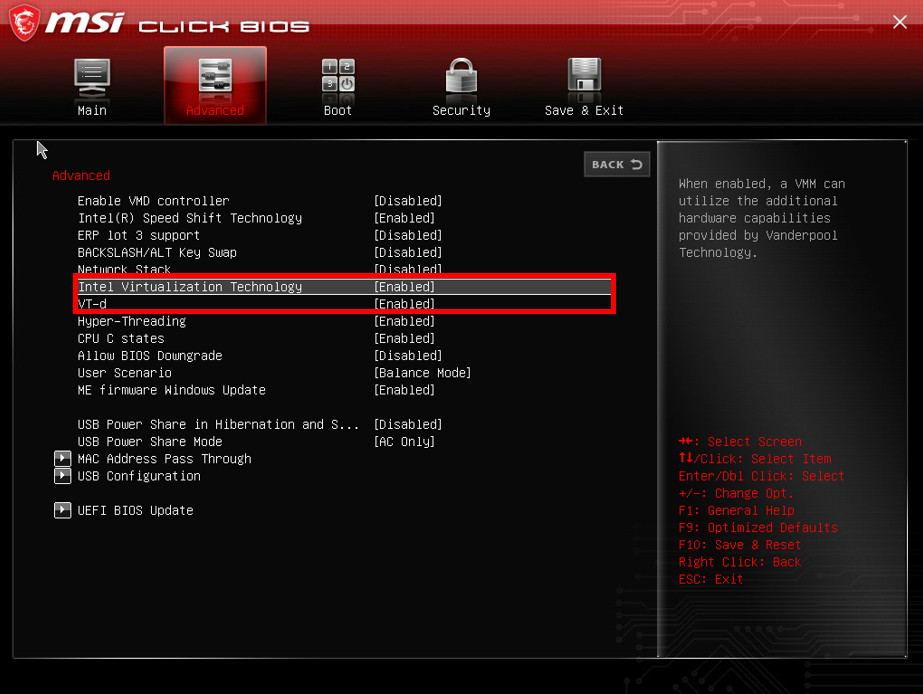
請在BIOS中開啟VT-d和VT-x和SR-IOV每家主機板廠商開啟方式不一樣,這部份自己去google找關鍵字。
MSI主機板請參考這邊 圖片來源
安裝系統
安裝部分就自行設定。

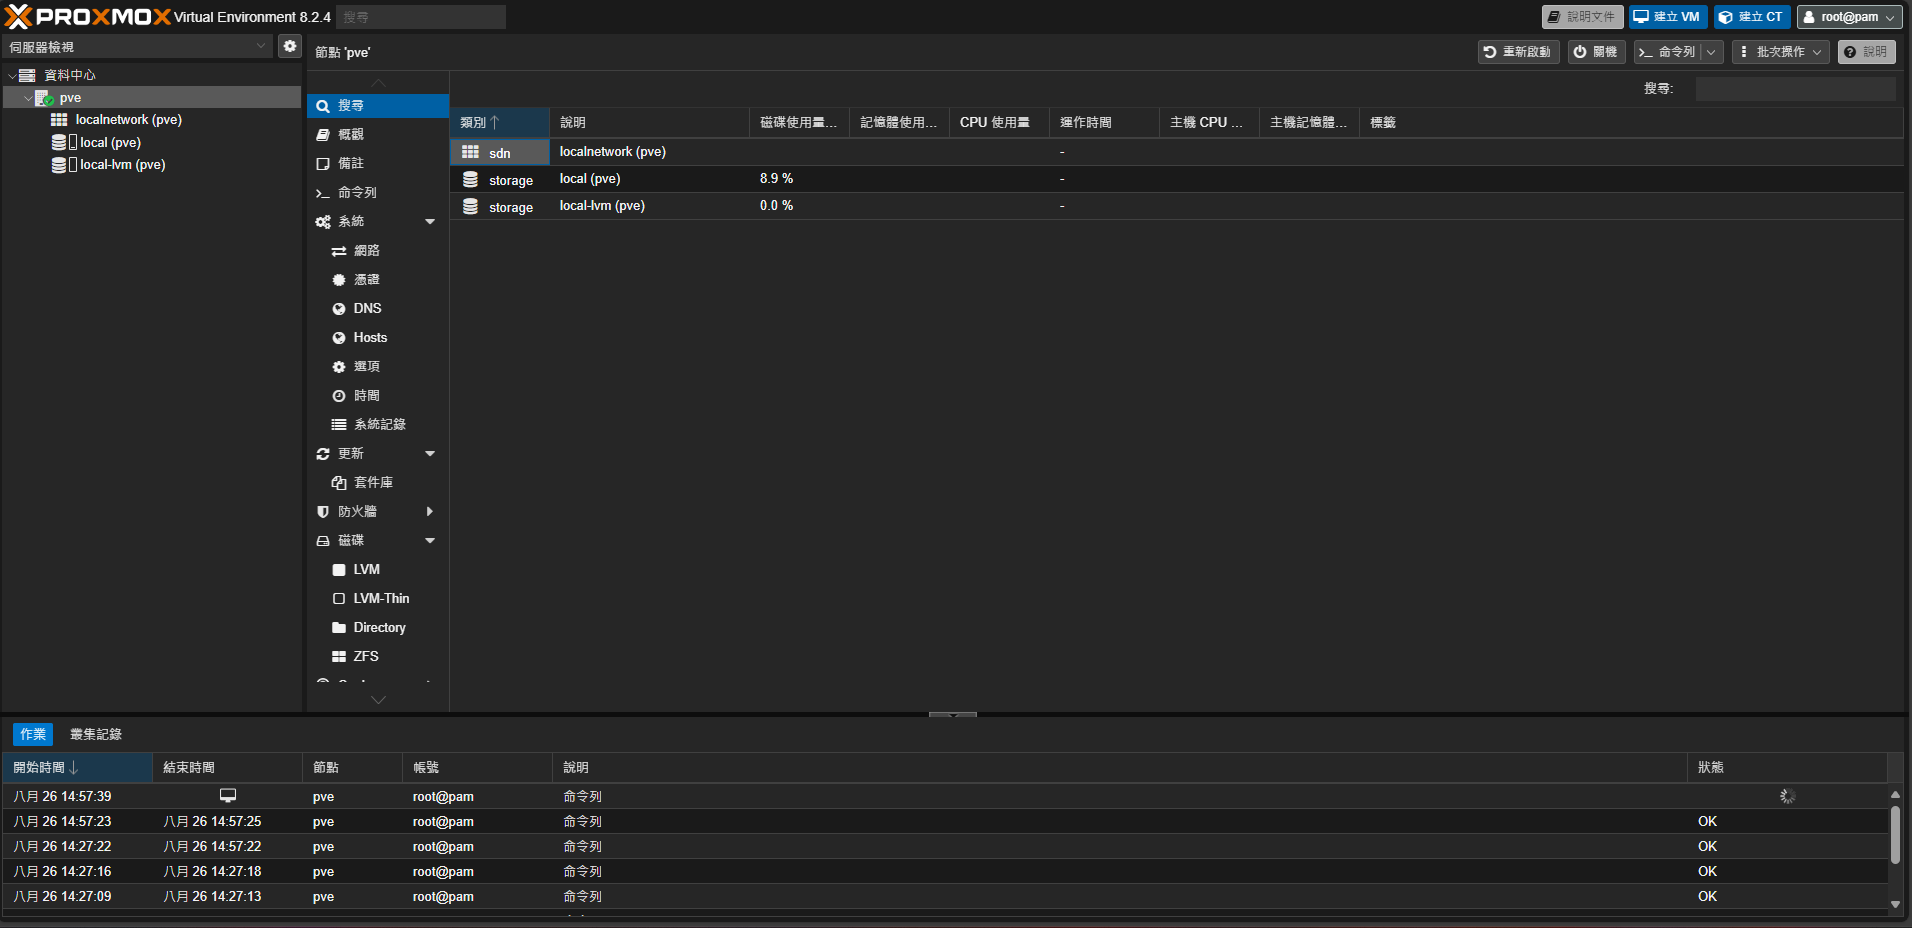
設定 pve
瀏覽器你的機器 IP+端口:https://ip:8006 (注意是 HTTPS ),進入 PVE 管理界面。
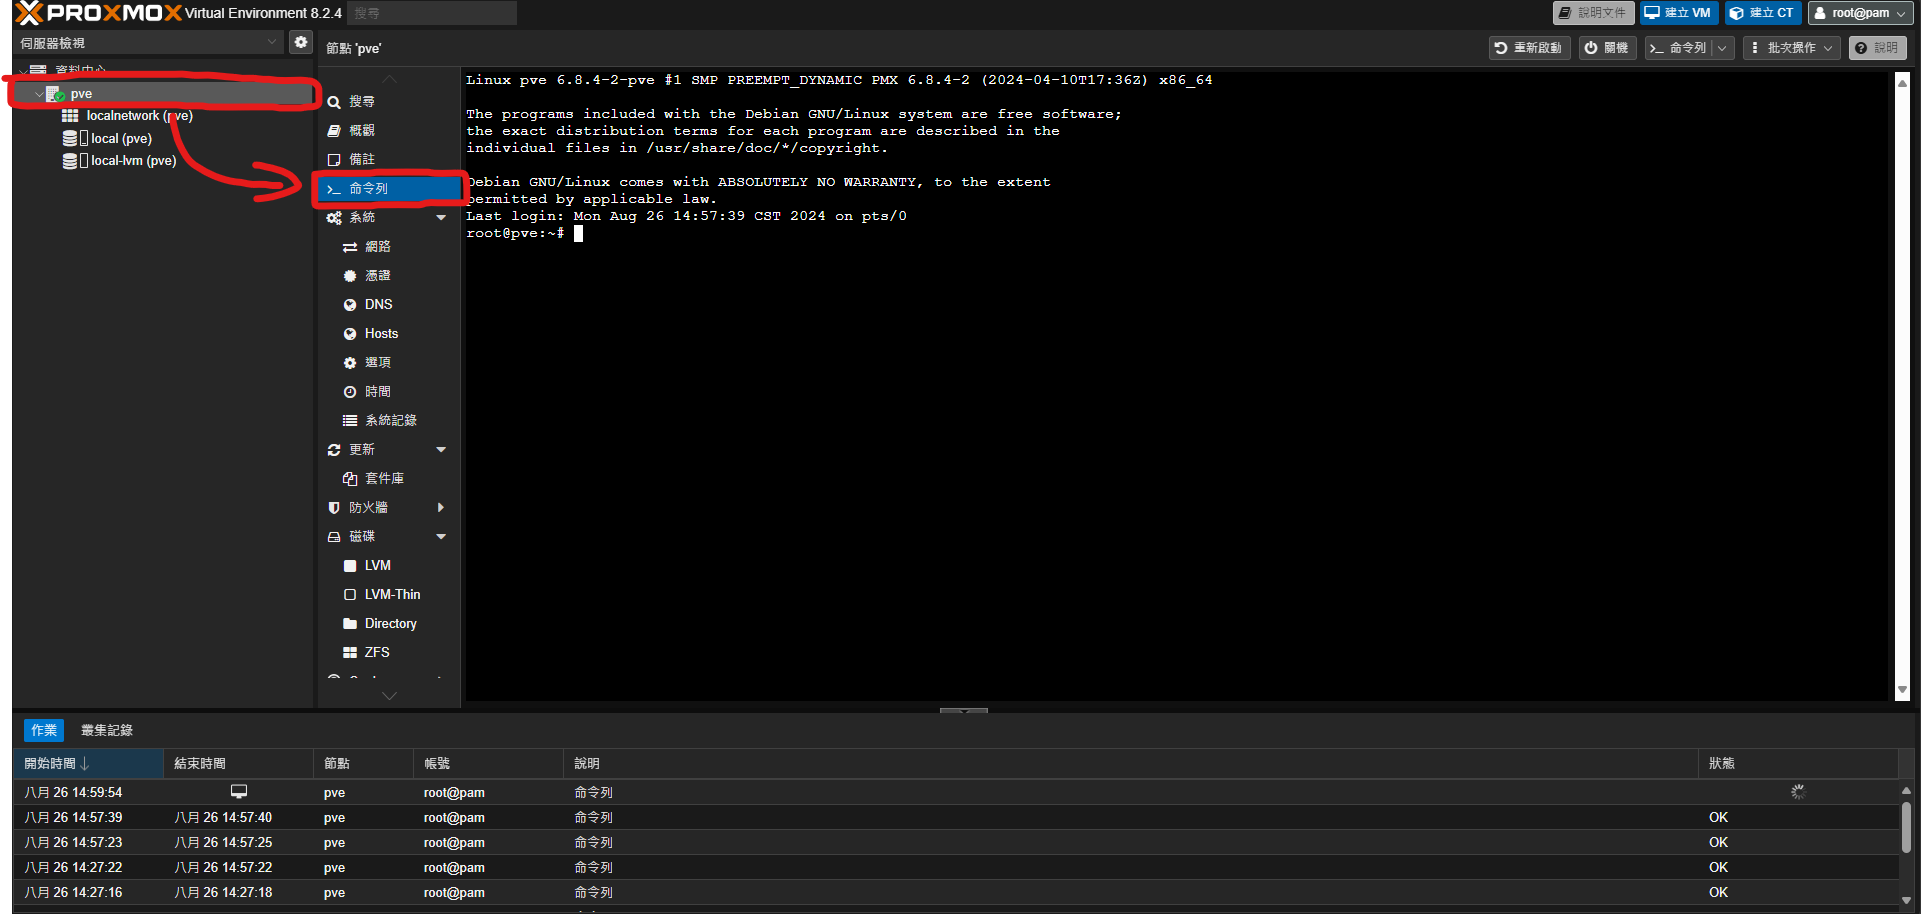
換源
到shell視窗
方法一
使用腳本
複製直行即可
1
|
wget https://cloud.jameshost.org/d/script/yuan.sh?sign=hUWplOxT3d9w6UrV5ZYBccCDONsJ7pIcRvOftUm0eF8=:0 -O yuan.sh && chmod +x yuan.sh && ./yuan.sh
|
然後在執行,就完成拉~
1
|
apt update && apt dist-upgrade
|
方法二
手動換源
先刪除sources.list.d
1
|
rm -rf /etc/apt/sources.list.d/
|
然後換源 (可以全部一起複製)
1
2
3
4
5
|
echo "deb https://mirrors.ustc.edu.cn/debian/ bookworm main contrib non-free non-free-firmware" > /etc/apt/sources.list
echo "deb https://mirrors.ustc.edu.cn/debian/ bookworm-updates main contrib non-free non-free-firmware" >> /etc/apt/sources.list
echo "deb https://mirrors.ustc.edu.cn/debian/ bookworm-backports main contrib non-free non-free-firmware" >> /etc/apt/sources.list
echo "deb https://mirrors.ustc.edu.cn/debian-security bookworm-security main" >> /etc/apt/sources.list
echo "deb https://mirrors.ustc.edu.cn/proxmox/debian bookworm pve-no-subscription" >> /etc/apt/sources.list
|
最後在執行,就完成拉~
1
|
apt update && apt dist-upgrade
|
刪除訂閱視窗
執行完成後瀏覽器 CURL+F5 清緩存。
1
|
sed -Ezi.bak "s/(Ext.Msg.show\(\{\s+title: gettext\('No valid sub)/void\(\{ \/\/\1/g" /usr/share/javascript/proxmox-widget-toolkit/proxmoxlib.js && systemctl restart pveproxy.service
|
直通PCIE設備
直通部分比較複雜這邊附上影片可參考